Getting started (Author)
This guide is for teachers and content authors. To open and use the builder you need editing access to the course — the editing teacher or manager role.
Open the builder
Section titled “Open the builder”-
Go into the course where you want the lesson to live.
-
Open the course More menu and select Create SCORM.
-
The full-screen builder opens, signed in and scoped to that course.
Choose a starting point
Section titled “Choose a starting point”When you start a new build, you pick where the content comes from:
- Blank canvas — start empty and build from scratch.
- Import a document — upload a .docx, .pptx, or .pdf and the builder segments it into lessons and blocks.
- From an EDZ Rise lesson — reuse an existing lesson (shown only when EDZ Rise is installed).
- From the AI Course Builder — seed an outline with AI (shown only when the AI Course Builder is installed).
The last two options appear only when those features are present on your site. A plain install always offers blank canvas and document import.
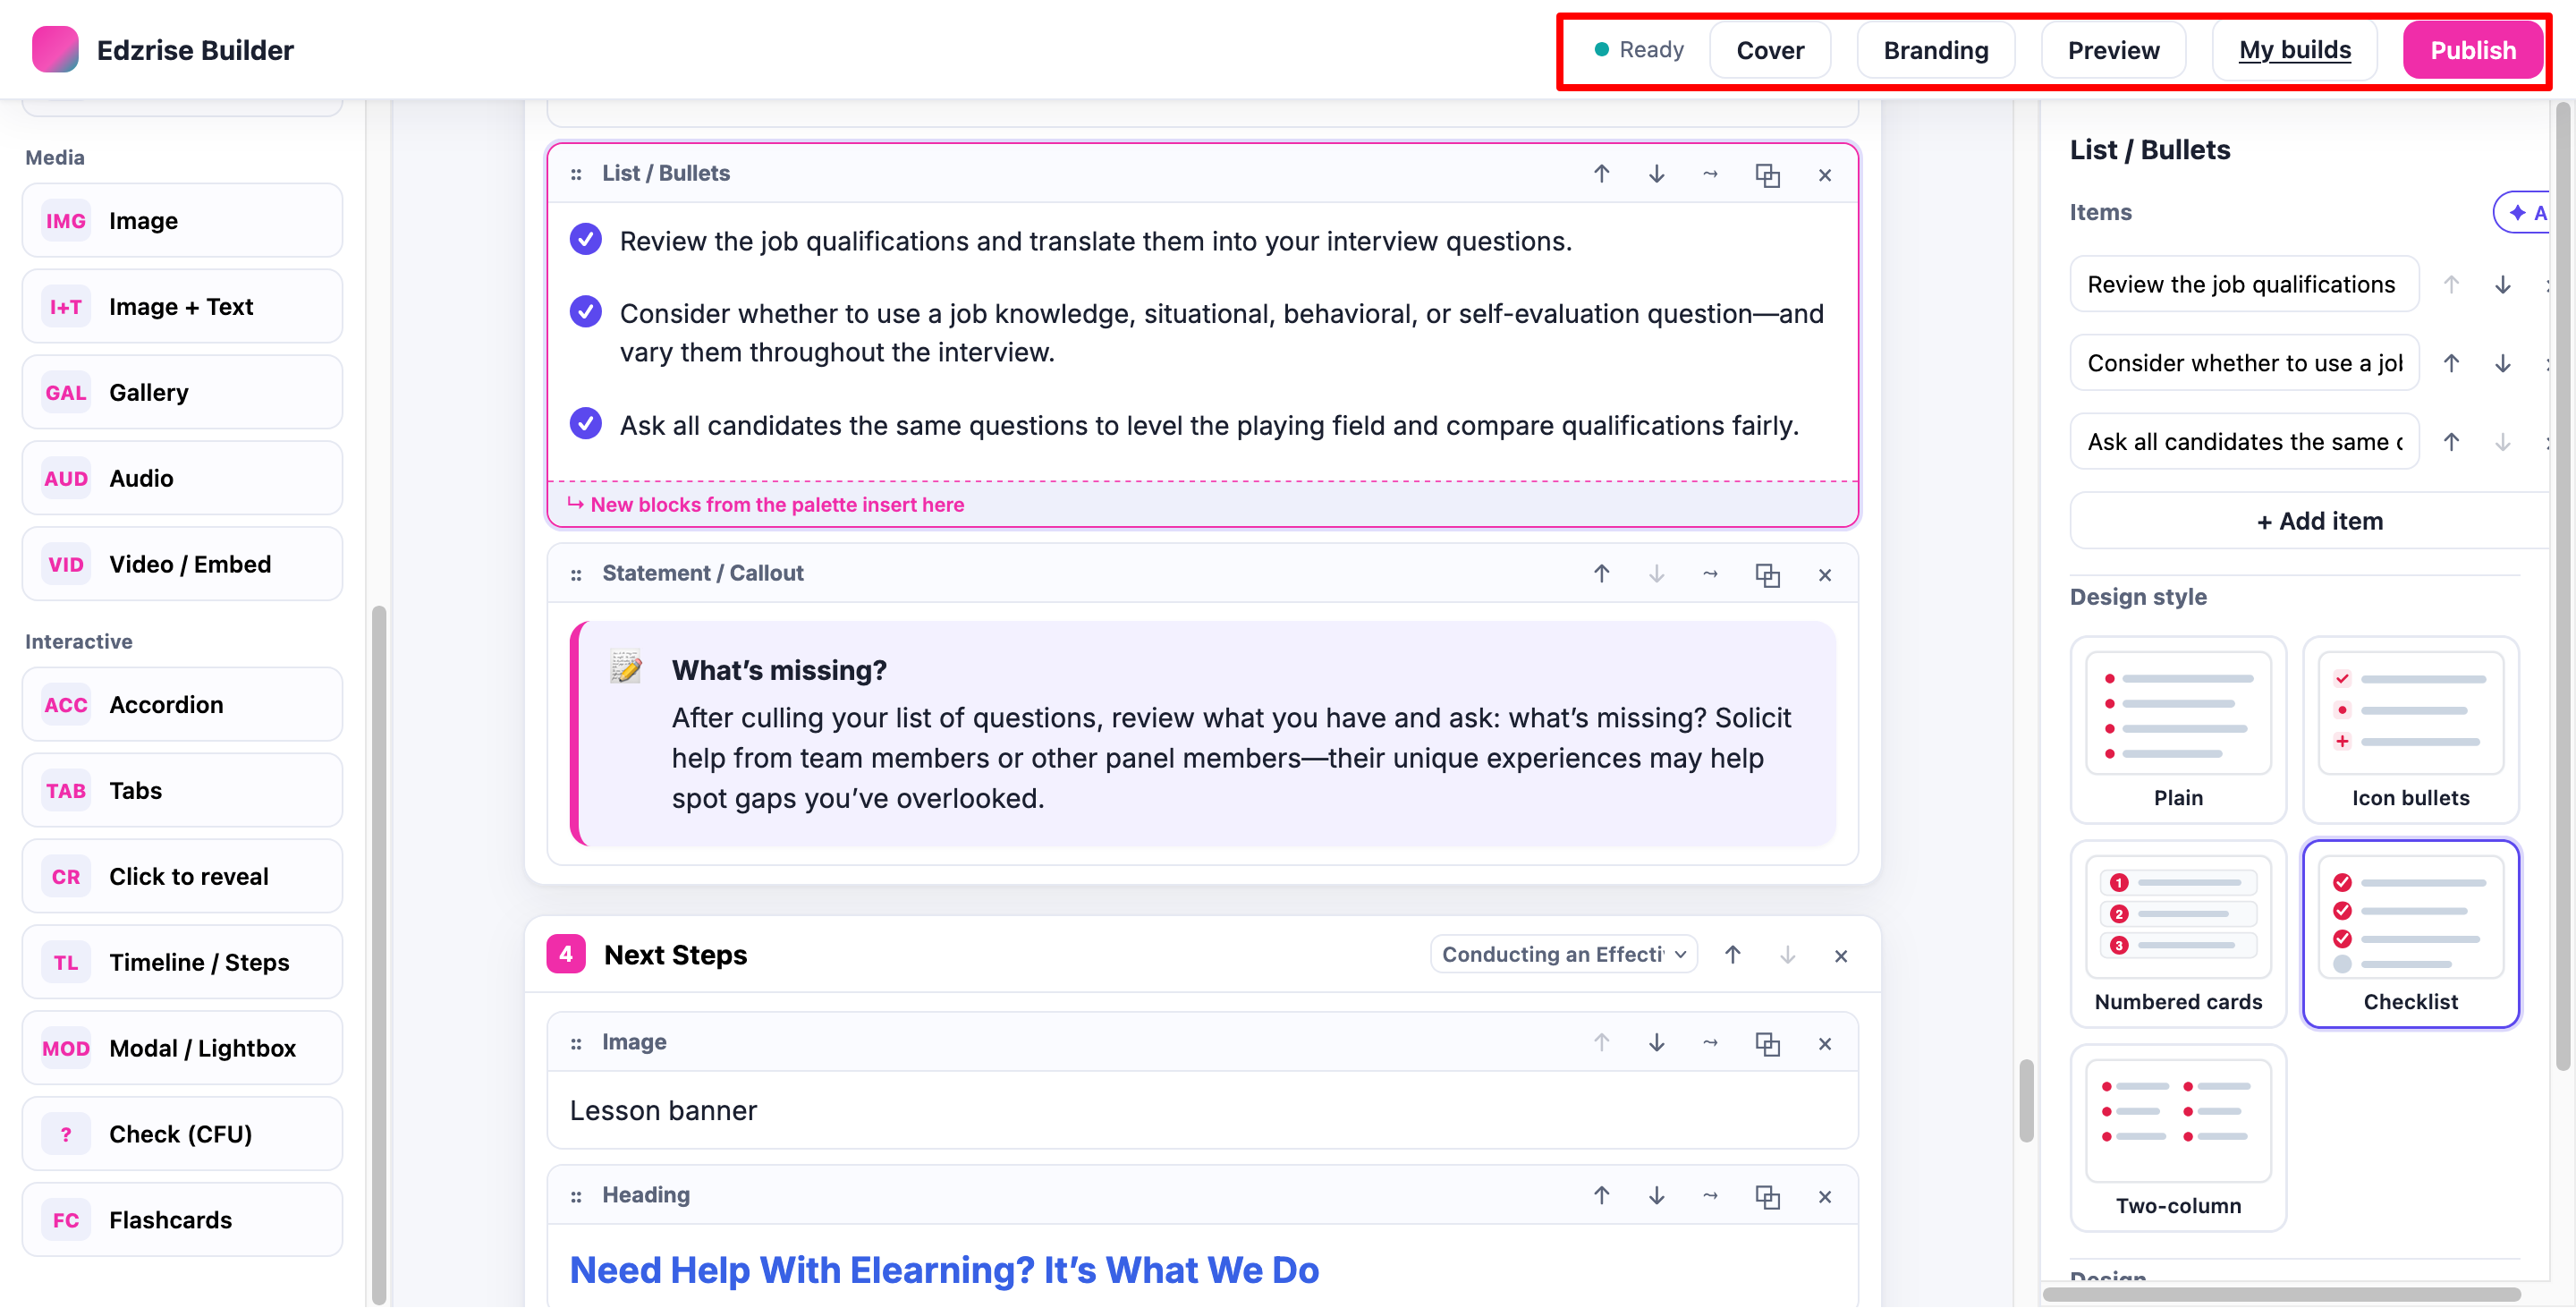
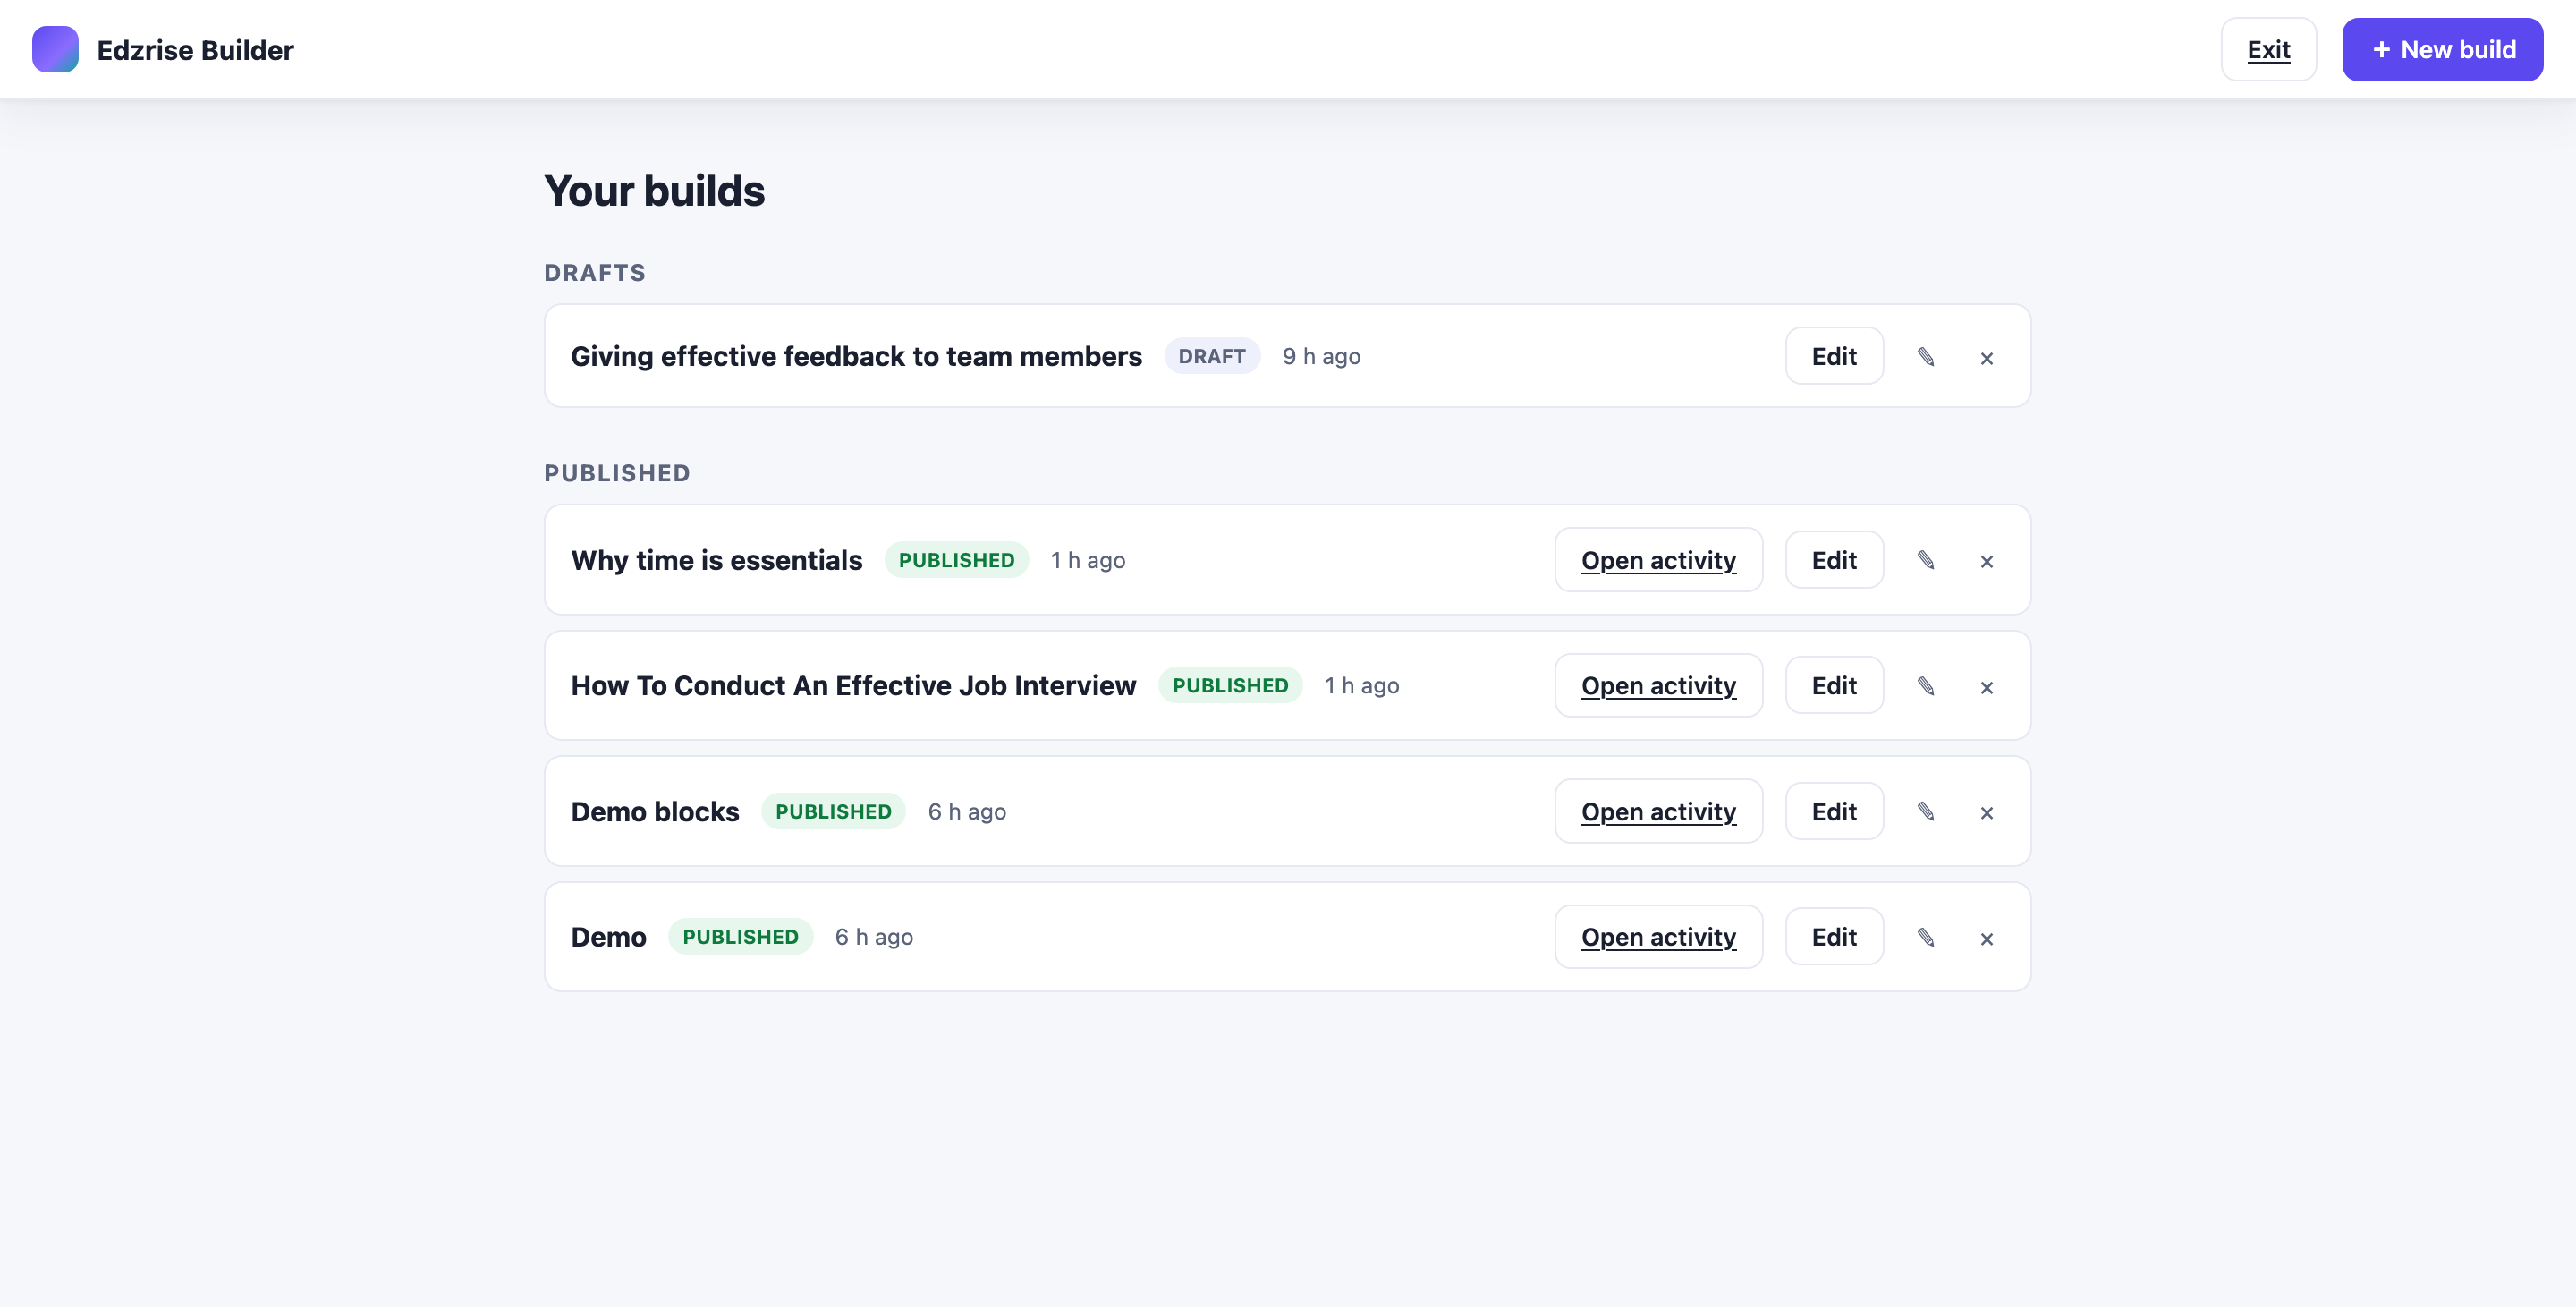
Build, then publish
Section titled “Build, then publish”-
Add and arrange blocks on the canvas (see Authoring lessons). Your work autosaves continuously — you’ll see an “All changes saved” indicator.
-
Select Preview at any time to see exactly what the learner will get — the cover overview, the lesson menu, and the paged reader.
-
When you’re ready, select Publish. The builder creates a SCORM activity in your course.
-
Select Open in course to jump straight to the new activity.
To make changes later, reopen the build and edit it; re-publishing updates the same activity in place. See Publishing to SCORM for the details and limits.